Crawl Space Vapor Barrier Installation How-To Guide — Pure Maintenance Down Under
Site Assessment
Clearing the Crawl Space
Repairing Structural Issues
Selecting the Vapor Barrier Material
Installation of the Vapor Barrier
Sealing and Finishing Touches
How It Works
Installing a crawl space vapor barrier is a crucial step in protecting your home from moisture damage, mold growth, and structural issues. In Portland, Oregon, where the climate can vary dramatically, a proper vapor barrier can safeguard your crawl space from the high humidity levels that often plague the area. Pure Maintenance Down Under specializes in providing expert installation services, ensuring your home remains dry and healthy. This guide will walk you through the essential steps involved in installing a crawl space vapor barrier, enabling you to understand the process and the importance of this service. A vapor barrier acts as a shield against moisture seeping in from the ground, which can lead to a host of problems such as wood rot, pest infestations, and health risks due to mold spores. Whether you're a homeowner looking to perform the installation yourself or considering hiring professionals like Pure Maintenance Down Under, this guide will equip you with the knowledge needed to tackle this vital home improvement project effectively. Let’s dive into the detailed steps of crawl space vapor barrier installation and understand how you can protect your investment.
Site Assessment
Before installation begins, it’s essential to assess the crawl space for any existing moisture issues or structural concerns. This involves checking for standing water, mold growth, and the overall condition of the foundation. Pure Maintenance Down Under recommends this step to ensure you address any potential problems before laying down the vapor barrier.
Clearing the Crawl Space
Once the assessment is complete, the next step is to clear the crawl space of any debris, insulation, or old vapor barriers. This creates a clean working environment, allowing for a more effective installation. Ensure that any sharp objects or hazardous materials are safely disposed of during this process.
Repairing Structural Issues
If any structural issues are identified during the assessment, such as damaged joists or cracks in the foundation, they need to be addressed before proceeding. This may involve replacing wood or sealing cracks, ensuring the crawl space is in good condition for the vapor barrier installation.
Selecting the Vapor Barrier Material
Choosing the right vapor barrier material is critical for effectiveness. Pure Maintenance Down Under recommends a polyethylene plastic sheeting with a thickness of at least 6 mils. This thickness provides better durability and moisture resistance. Make sure to purchase enough material to cover the entire crawl space floor and walls as needed.
Installation of the Vapor Barrier
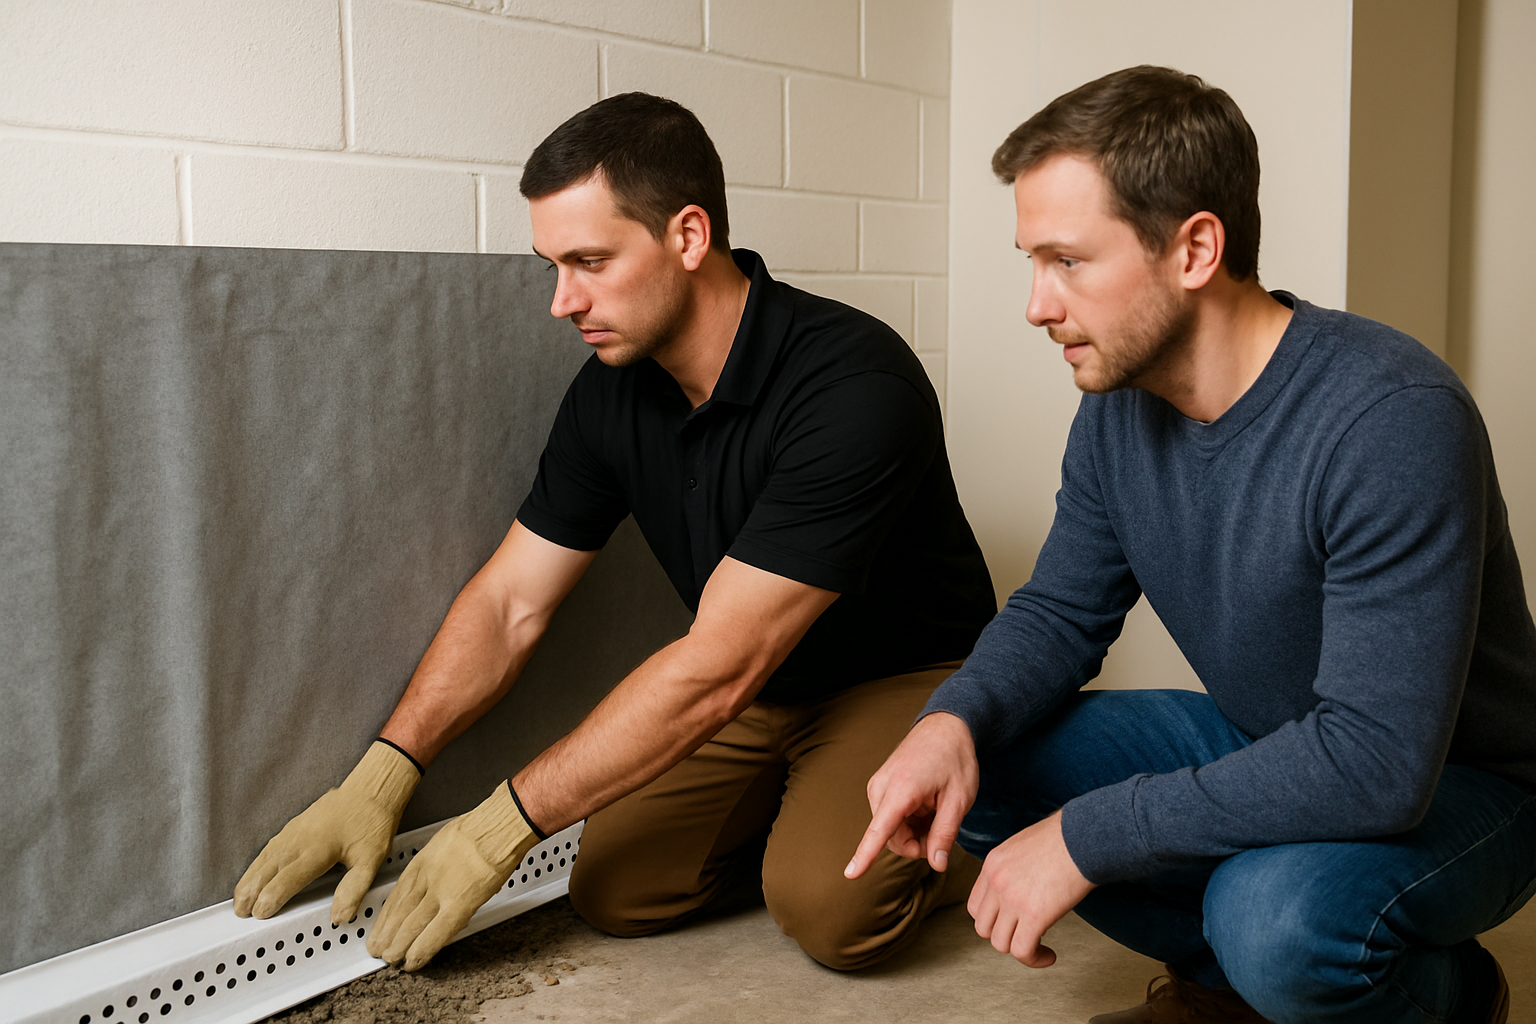
Start the installation by laying the vapor barrier over the entire crawl space floor, overlapping seams by at least 12 inches. Secure the edges of the barrier to foundation walls using adhesive or tape. Ensure there are no gaps or tears in the material to maximize moisture protection. Pure Maintenance Down Under emphasizes the importance of a tight installation for optimal results.
Sealing and Finishing Touches
After the vapor barrier is in place, seal all seams and edges thoroughly. This may involve additional adhesive or tape to ensure water cannot penetrate through any openings. Finally, inspect the installation to confirm that it meets local building codes and standards.
Final Inspection
Conduct a thorough final inspection of the crawl space to ensure everything is installed correctly. Look for any potential issues that may have been overlooked and make necessary adjustments. This step is crucial for ensuring long-term effectiveness and compliance with local regulations.
What to Expect & When
We believe in full transparency. Here's a realistic timeline so you can plan accordingly.
Initial Assessment
1-2 daysThis phase involves evaluating the crawl space conditions and identifying any existing moisture problems or structural issues that need addressing.
Preparation and Repair
1-3 daysDuring this phase, the crawl space is cleared, and any necessary repairs to the structure are completed to ensure a solid foundation for the vapor barrier.
Vapor Barrier Installation
1 dayThe actual installation of the vapor barrier occurs in this phase, following the outlined steps to ensure complete coverage and sealing.
Final Inspection and Cleanup
1 dayThe final phase involves inspecting the installed barrier and cleaning up the work area to leave the crawl space ready for use.
How to Prepare
- Clear out any furniture or stored items from the crawl space to provide ample working space.
- Ensure that you have all necessary tools and materials on hand before beginning the installation.
- Check the weather forecast to avoid working in wet conditions, which can hinder the installation process.
- Consider hiring Pure Maintenance Down Under for professional advice and assistance to ensure the best results.
Common Questions
Everything you need to know before we arrive.
Why is a vapor barrier necessary in a crawl space?
How thick should a vapor barrier be?
Can I install a vapor barrier myself?
What materials are best for a vapor barrier?
How often should I check my vapor barrier?
Still have questions? We're happy to help.
Call (503) 664-7207Understanding Crawl Space Moisture Issues
Crawl spaces are often susceptible to moisture issues due to their proximity to the ground and lack of ventilation. In Portland, Oregon, the damp climate can exacerbate these problems, leading to various issues such as mold growth, insect infestations, and damage to structural elements. Understanding how moisture enters your crawl space is essential for effective prevention. Water can seep in through the soil, foundation cracks, or even through poorly installed drainage systems. This is where a vapor barrier becomes vital. By creating a barrier between the ground and your home’s interior, you significantly reduce the amount of moisture that can enter the crawl space. This not only protects the structural integrity of your home but also improves indoor air quality by minimizing mold spores and allergens. Pure Maintenance Down Under can assist in evaluating your crawl space and recommending the best solutions to combat moisture issues effectively.
Long-Term Benefits of a Vapor Barrier
Investing in a crawl space vapor barrier installation provides numerous long-term benefits for homeowners in Portland, Oregon. First and foremost, it significantly reduces the risk of mold growth, which can pose health risks to your family. By maintaining a dry environment, you also protect your home’s wooden structures from rot and decay. Additionally, a well-installed vapor barrier can enhance your home’s energy efficiency by preventing conditioned air from escaping and keeping the crawl space temperature stable. This can lead to lower energy bills, making your home more economical in the long run. Moreover, having a vapor barrier in place can increase your home’s resale value, as potential buyers often look for properties that are well-maintained and free from moisture-related issues. When you choose Pure Maintenance Down Under for your installation needs, you are ensuring a solid investment in your home’s future.
Ready to Get Started with Pure Maintenance Down Under?
Our licensed technicians serve Portland and surrounding communities. Free estimates — no obligation.